Tables
Tables are widely used on the platform to display data. This page informs about typical actions related to handle tables.
- main elements used in a table
- main actions (search and filter a table, set general table appearance, manage table elements)
Main elements used in a table
General elements for a table
| Button/Element | Name | Function |
|---|---|---|
| search | |
| add | add an element / row to the table |
| filter | filter with search fields for columns |
| list view | drag and drop the columns here you want to group the results by |
| more | usually access to column chooser |
| column chooser | takes out table columns not needed at the moment to make table clearer | |
| sort | sorts table after selected column (ascending or descending) |
| checkbox | select / deselect all rows |
Elements in a row
| Button/Element | Name | Function |
|---|---|---|
| edit | |
| delete / remove | |
| more | |
| checkbox | select / deselect this row |
Additional elements can be found under buttons and menu elements in quality apps
Main actions
Search and filter a table
- search table [
 ]
] - sort table after selected column [
 ]
] - filter table [
 ] including search filter options
 - group results via list view [
 ]
] - export table as Excel file (hidden under [
 ])
])
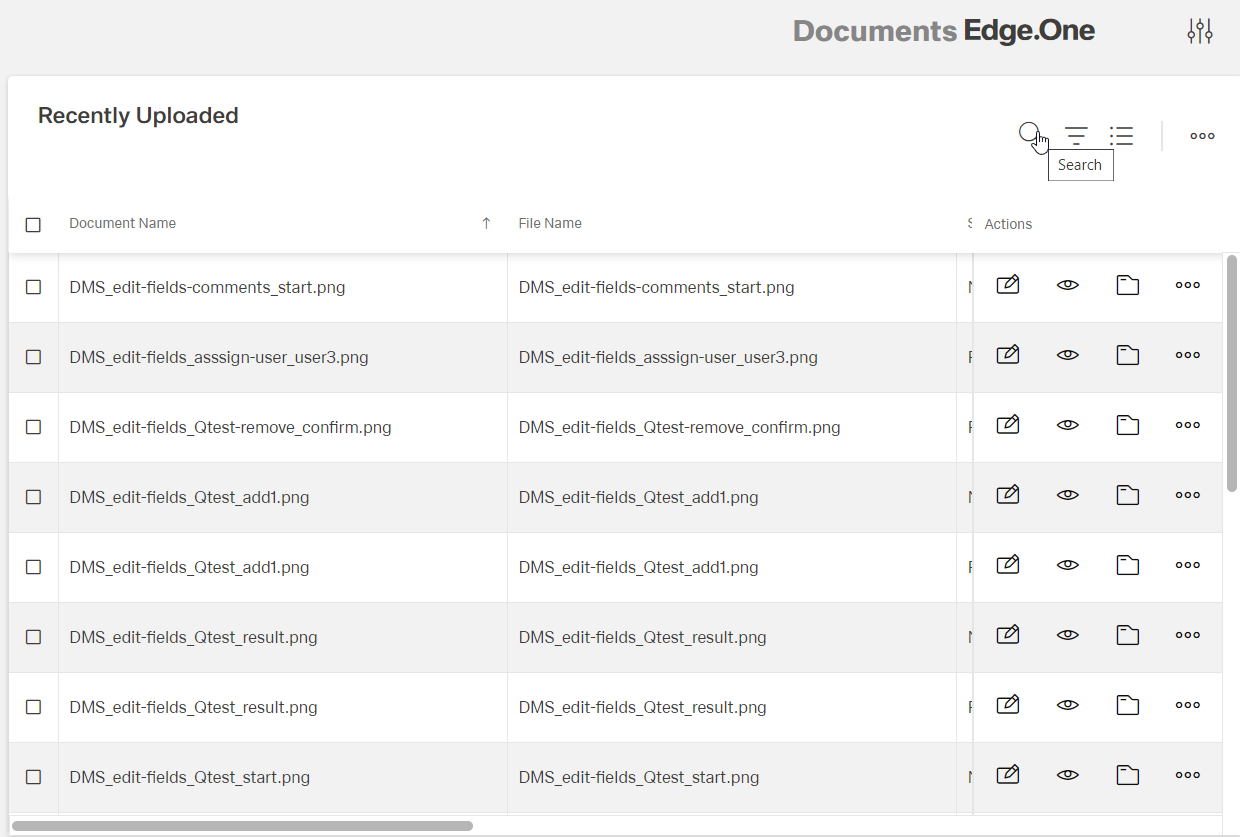
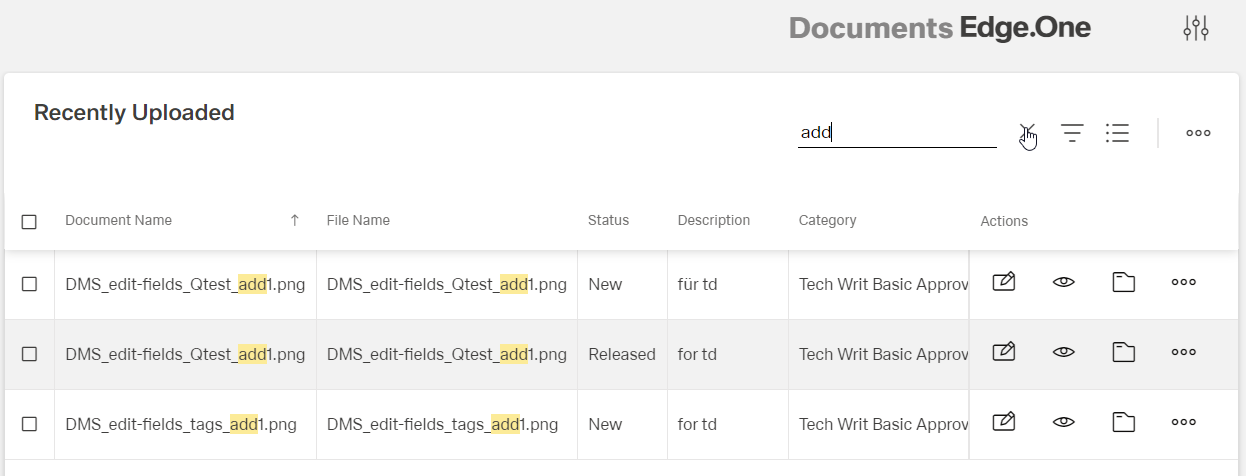
Search table
Click the button [![]() ]
]
A search field appears:
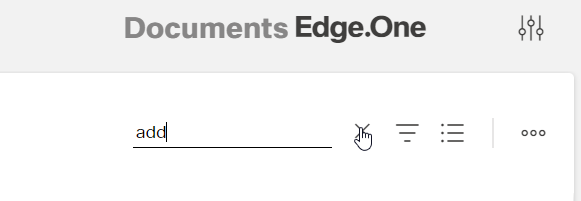
Enter the search string
The table is filtered according to the results of the search.
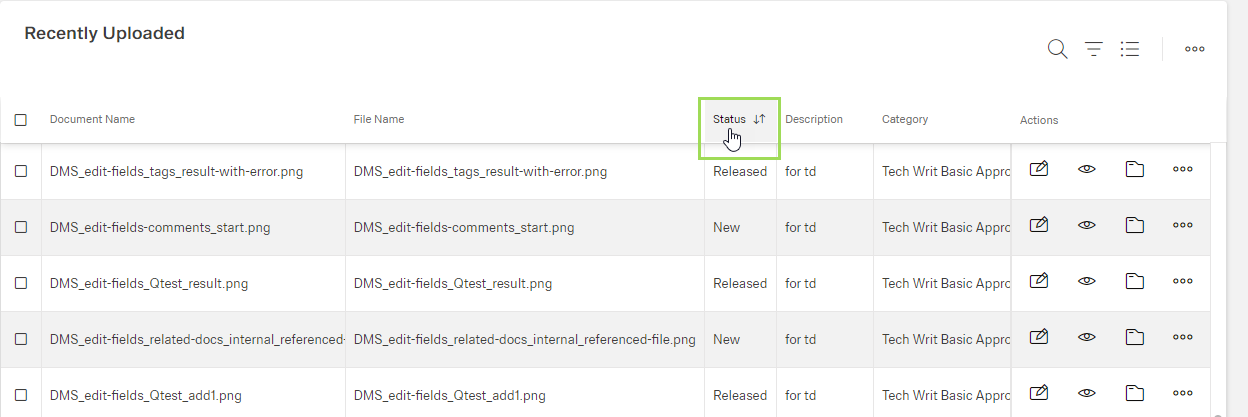
Sort table after selected column
Hover over the name of the column to be sorted and click the button [![]() ]
]
The table is sorted in ascending order of this column
For descending order, click the arrow button again
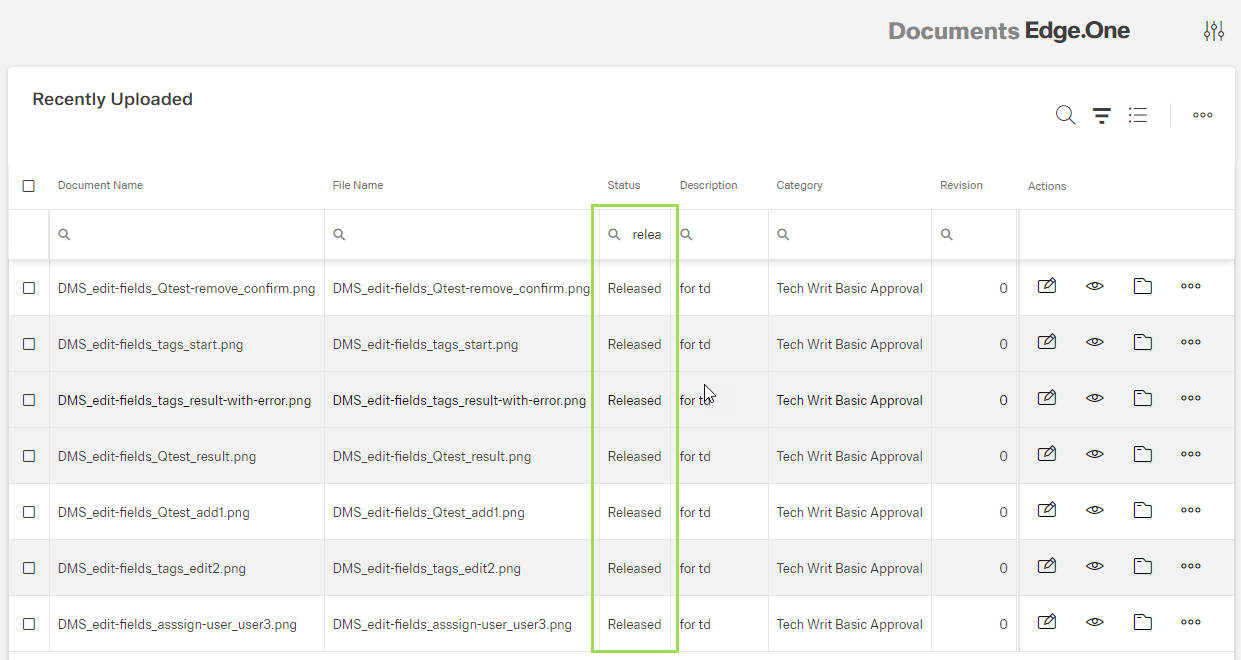
Filter table
Click the button [![]() ]
]
A search field appears above all columns:

Enter the search string in one of the columns
The table is filtered according to the results of the search:
When hovering over the search icon, search filter options can be selected:
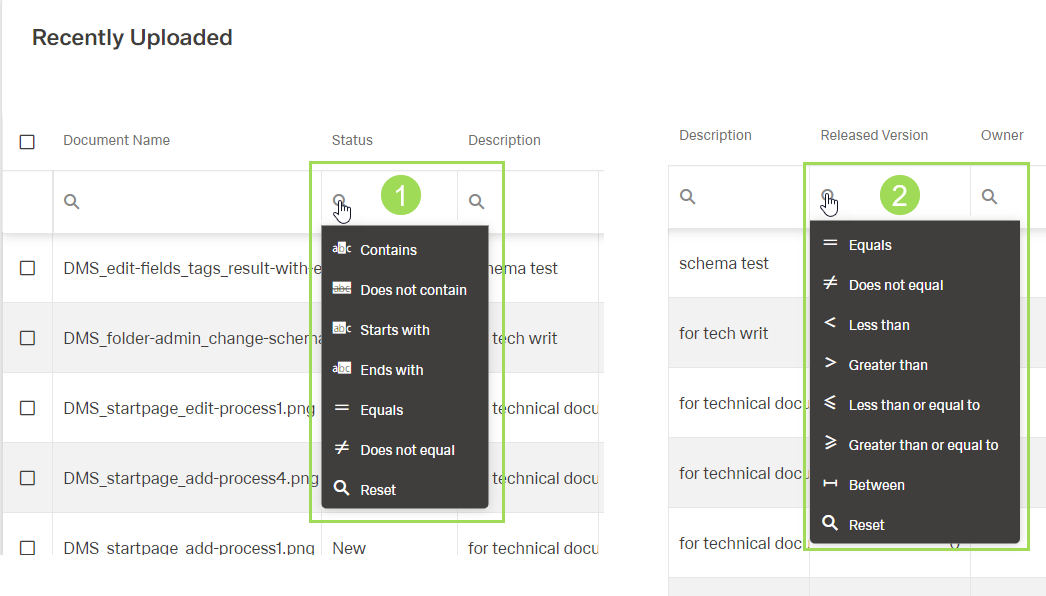
The illustration shows the available filter options: (1) column containing text/string, (2) column containing numbers/dates
For a column containing text, the following filter options are available:
| Filter option | Function |
|---|---|
| Contains | result shows cells containing the search string this string can be anywhere in the cell text |
| Does not contain | result shows only cells without the search string this string can be anywhere in the cell text |
| Starts with | result shows cells containing text that starts with the search string the more characters you enter, the less results will be shown |
| Ends with | result shows cells containing text that ends with the search string the more characters you enter, the less results will be shown |
| Equals | result shows only cells containing text that is the same as the cell content |
| Does not equal | result shows cells that don't contain the search string the more characters you enter, the more results will be shown |
| Reset | disables the filter options |
For a column containing numbers or a date, the following filter options are available:
| Filter option | Function |
|---|---|
| Equals | result shows all cells containing a number/date that is the same as the entered value |
| Does not equal | result shows all cells containing a number/date that is not the same as the entered value |
| Less than | result shows all cells containing a number less than/a date before the entered value |
| Greater than | result shows all cells containing a number greater than/a date later as the entered value |
| Less than or equal to | result shows all cells containing a number less than or the same as /a date before or the same as the entered value |
| Greater than or equal to | result shows all cells containing a number greater than or the same as/a date later or the same as as the entered value |
| Between | result shows all cells containing a number/date in the entered range |
| Reset | disables the filter options |
If none of these filter options is selected, the default search is set on "contains".
It is possible to filter more than one column at once by entering search strings into other column search fields:
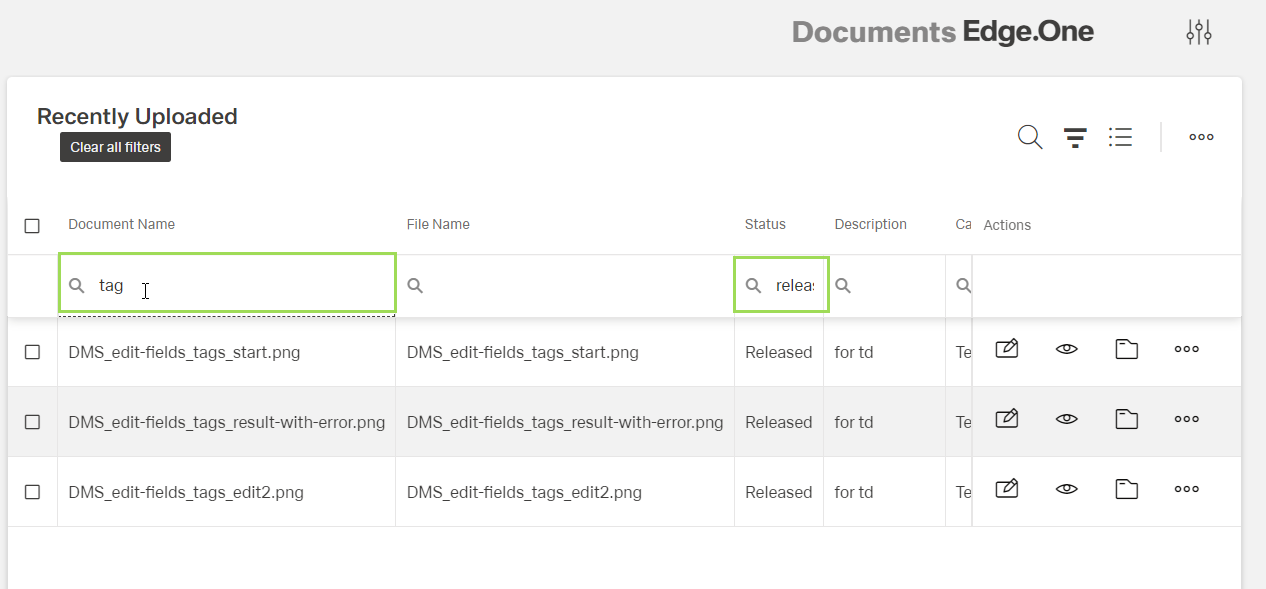
Both filters are applied on the original table. The result shows only elements where both filters are true.
To deselect one filter, clear the search field of the corresponding column
The table is adapted to the updated filter.
To deselect all filters, click the button Clear all filters
The table returns to the original order.
To hide the active search fields, click the button [![]() ] to set it inactive
] to set it inactive
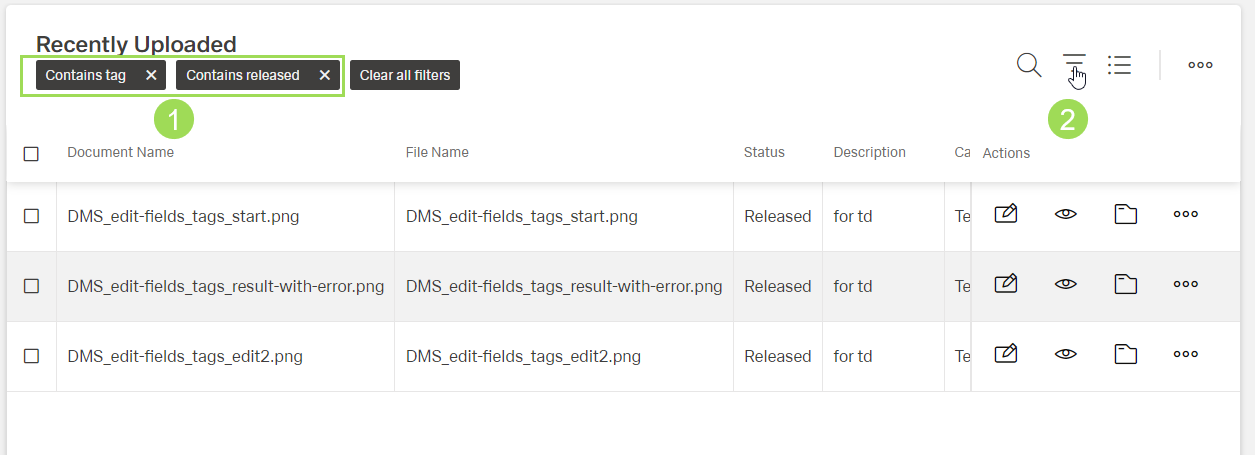
(1) applied filters, (2) deactivated filter button
To deselect one filter, close the corresponding black button above the filtered table
To add another filter, click the button [![]() ] to display the search fields again
] to display the search fields again
Group results
This button enables a grouping of the results. It's another type of filter.
Click the button [![]() ]
]
A field above the column appears:
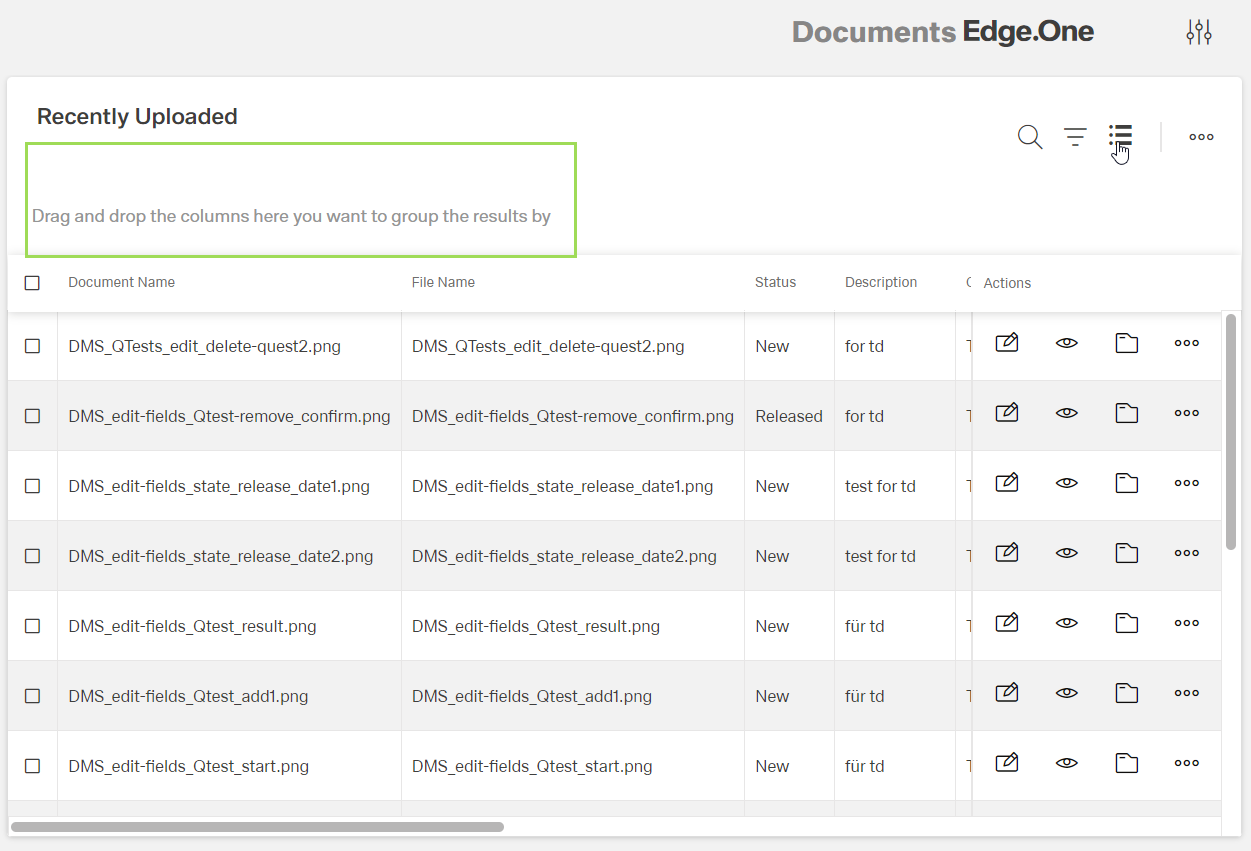
Drag and drop the column to the field
The table is sorted after all possible values of this column, e.g. for "Status":

It is possible to group after more than one column at once by dragging another column to the field:
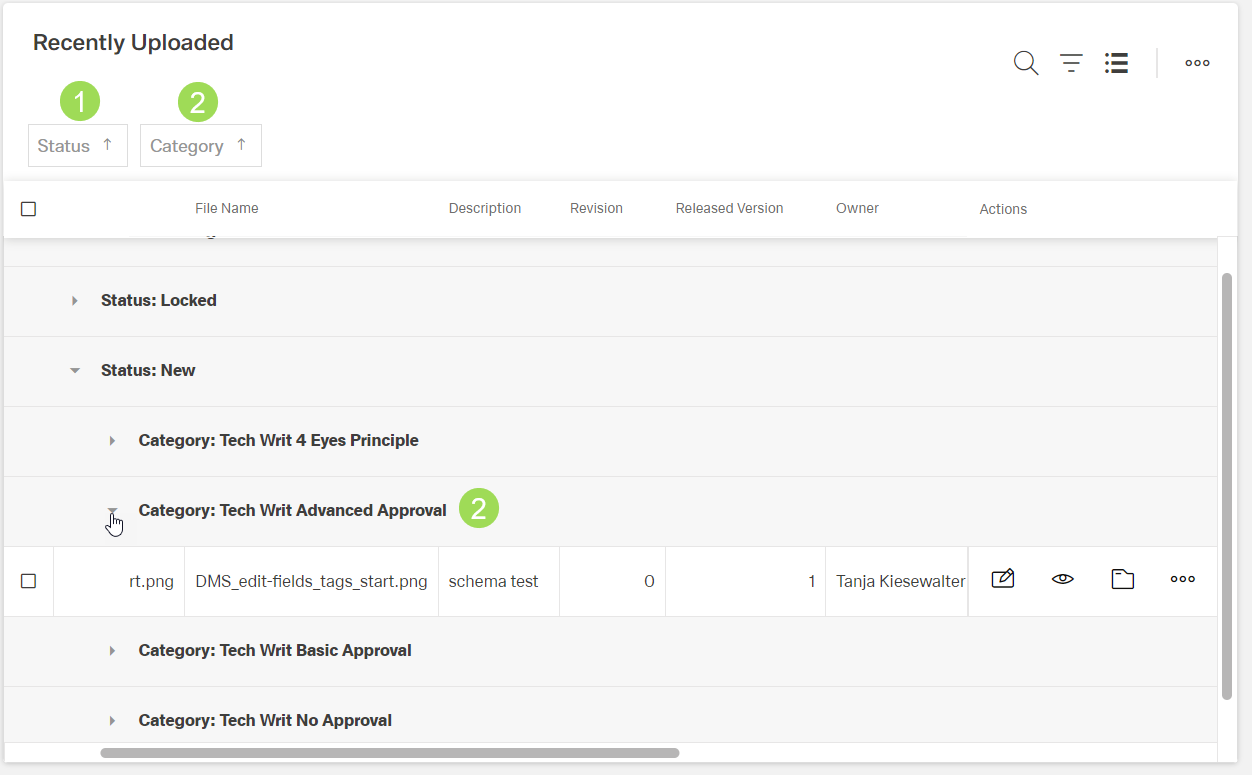
(1) first grouping column, (2) second grouping column with indented results
To undo a grouping, drag and drop the white button of the corresponding column (<1> or <2>) back to the table (details on order of columns is given here)
A black line appears where the column is to be dropped:
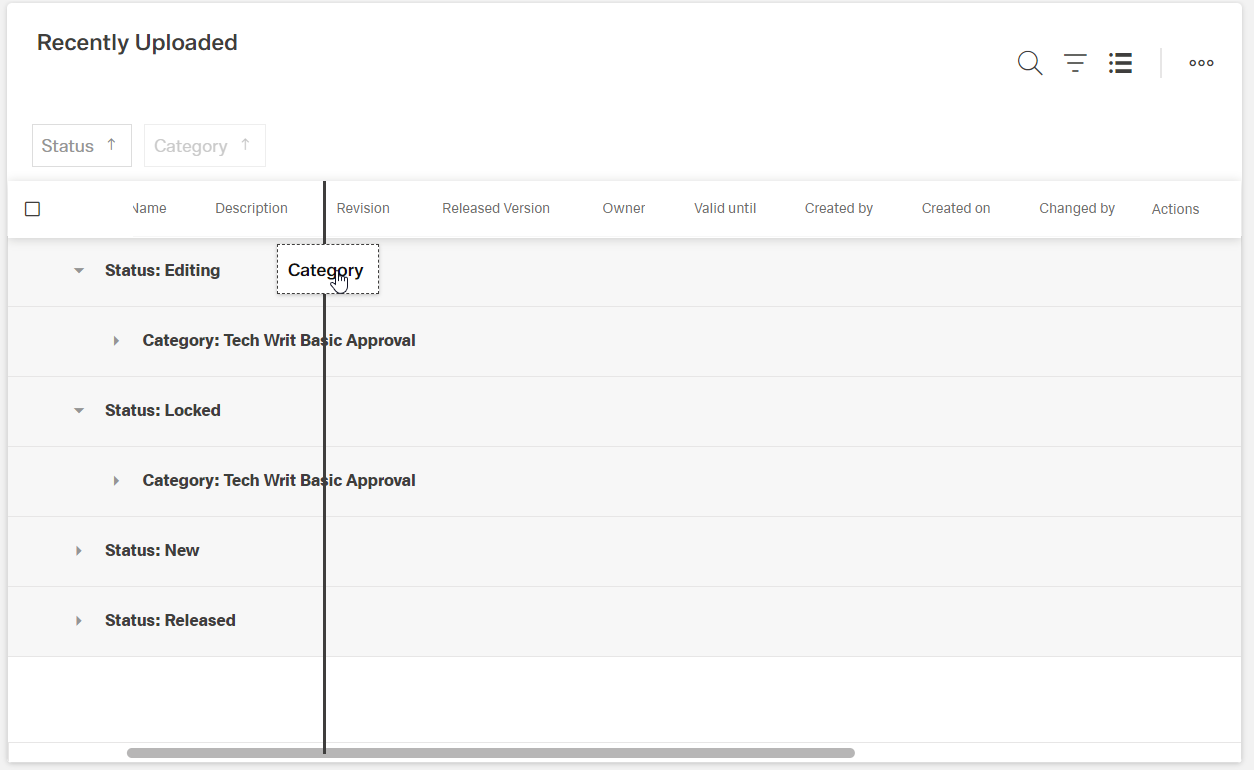
The grouping is updated accordingly.
When all columns are dropped back to the table, the table returns to the original order.
To hide the grouped column names, click the button [![]() ] to set it inactive
] to set it inactive
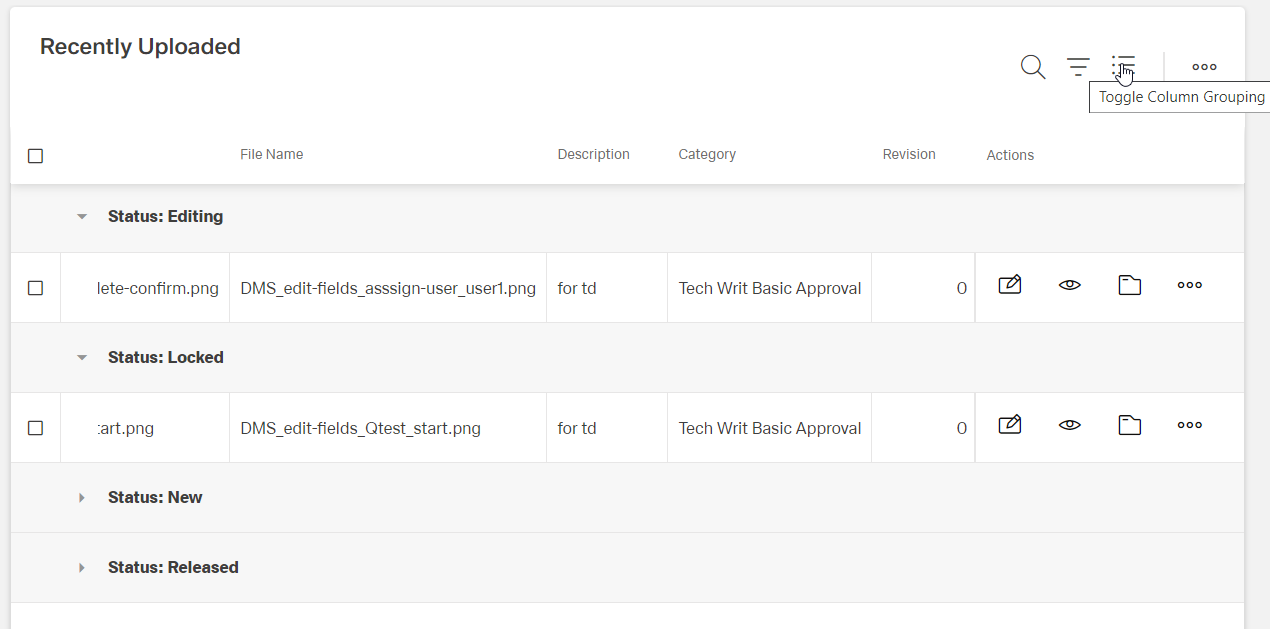
To deselect a grouping, click the button [![]() ] to display the white buttons with the column names again
] to display the white buttons with the column names again
Export table
Click the button [![]() ]
]
A selection appears:

Select Excel export
The export is saved as download file.
Depending on the browser, the file can be handled differently.
Back to Main actions
Set general table appearance
- column width
- order of columns
- column chooser (hidden under [])
Column width
The default setting of the column width is dynamic. The columns adapt to the largest entry currently visible on the screen.
By setting the width of a single column, the dynamic behavior is disabled.
Please note: these settings are kept for all tables in this menu, e.g. when setting the width in a folder, it's also applied to all other folders under Documents.
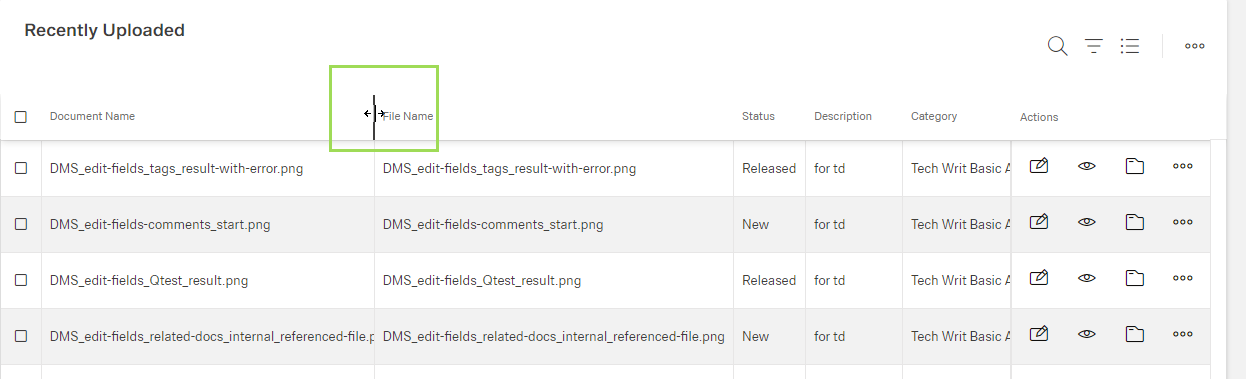
Hover over the line between two column names until the line gets fat (green frame)
Drag the line and move it as needed to the left or right to adapt the column width
Drop it where it fits your needs
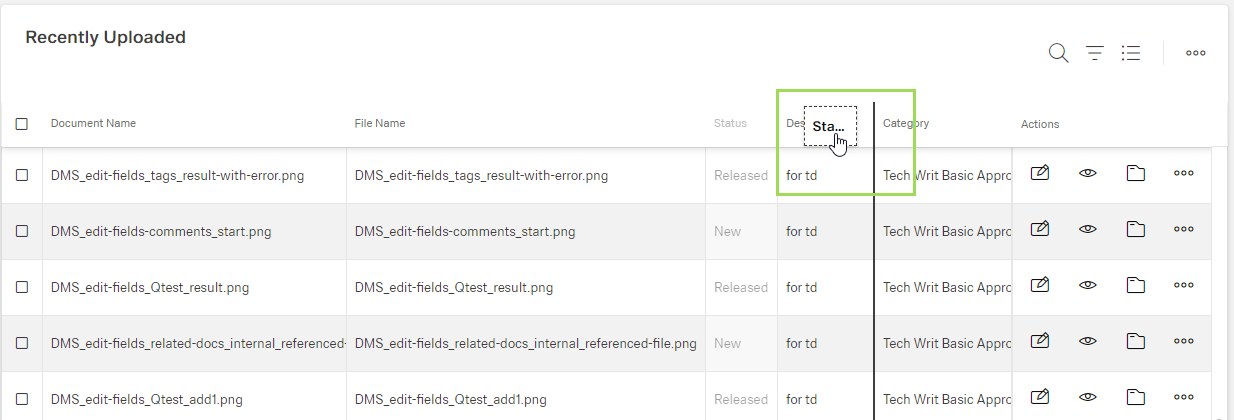
Order of columns
The order of the columns can be adapted as needed.
Please note: these settings are kept for all tables in this menu, e.g. when changing the order in one folder, it's also applied to all other folders under Documents.
Click on the name of a column you want to move
Drag the column to the desired position between 2 other columns and let it it drop
The possible drop area is indicated by a fat black line between 2 columns
Column chooser
The column chooser enables to hide columns from the table.
Please note: these settings are kept for all tables in this menu, e.g. when hiding a column in one folder, it's also applied to all other folders under Documents.
Click the button [![]() ]
]
A selection appears:
Select Column chooser
A small window appears in the lower right corner (green frame):
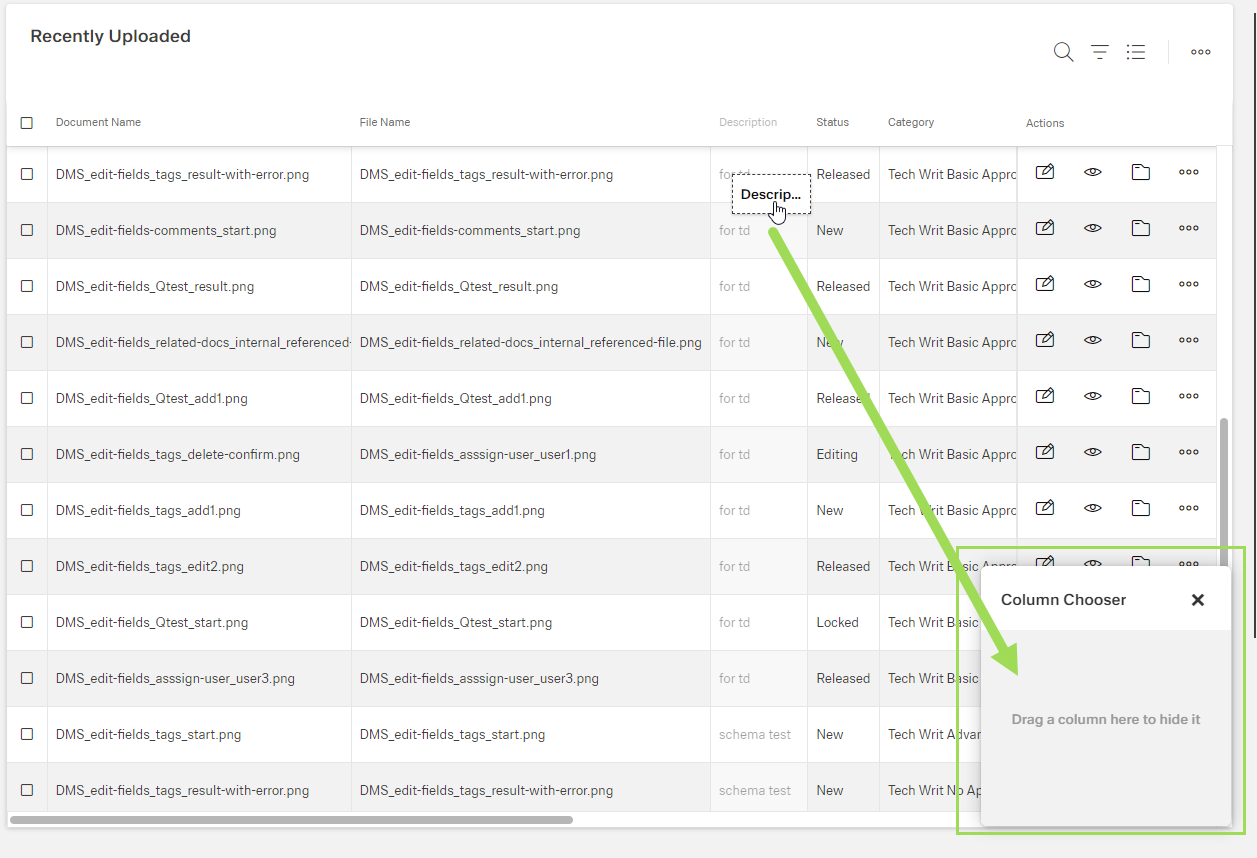
Drag & drop the column(s) to be hidden to the column chooser window
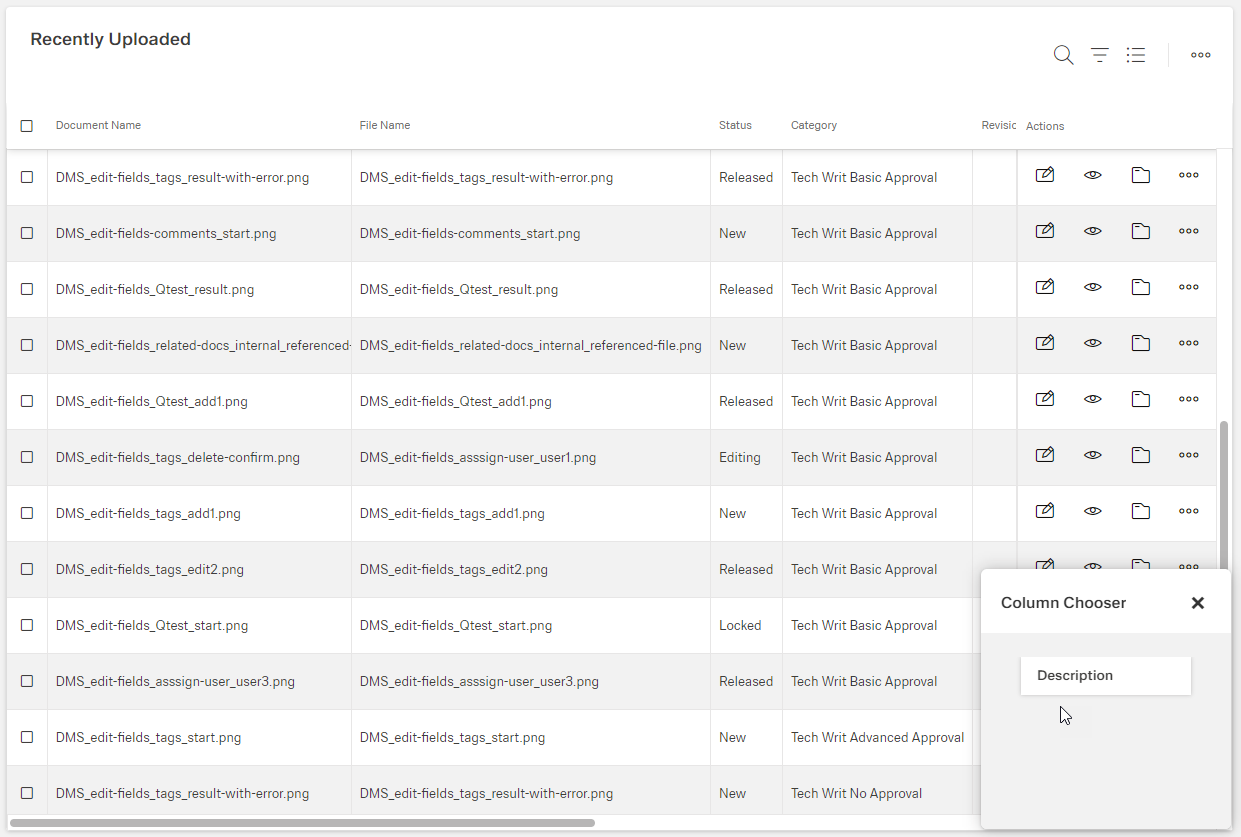
The columns contained in the column chooser are not shown anymore in the table.
Back to Main actions | Set general table appearance
Manage table elements
Add an element
Click the button [![]() ]
]
A dialog appears
Depending on the dialog:
Enter information into fields
Select from dropdown lists
Edit an element
Click the button [![]() ]
]
A dialog appears
Edit the information to be changed
Remove / delete an element
Some elements are removed from the actual table but still available for actions. However, some elements are deleted from the system. An according confirmation dialog pops up in any case.
Click the button [![]() ] of the row to be removed / deleted
] of the row to be removed / deleted
A confirmation dialog appears
If needed, enable a checkbox
Select rows / elements using checkboxes
Click the button [![]() ] of a row to select one or more rows / elements
] of a row to select one or more rows / elements
New action buttons may appear
To select all rows / elements, click the button [![]() ] in the table header
] in the table header
To deselect a row / element, click the button [![]() ] again
] again
Back to Main actions | Manage table elements