Edit a category in DMS (step by step)
After clicking the button [![]() ] of the selected category, the following window appears:
] of the selected category, the following window appears:
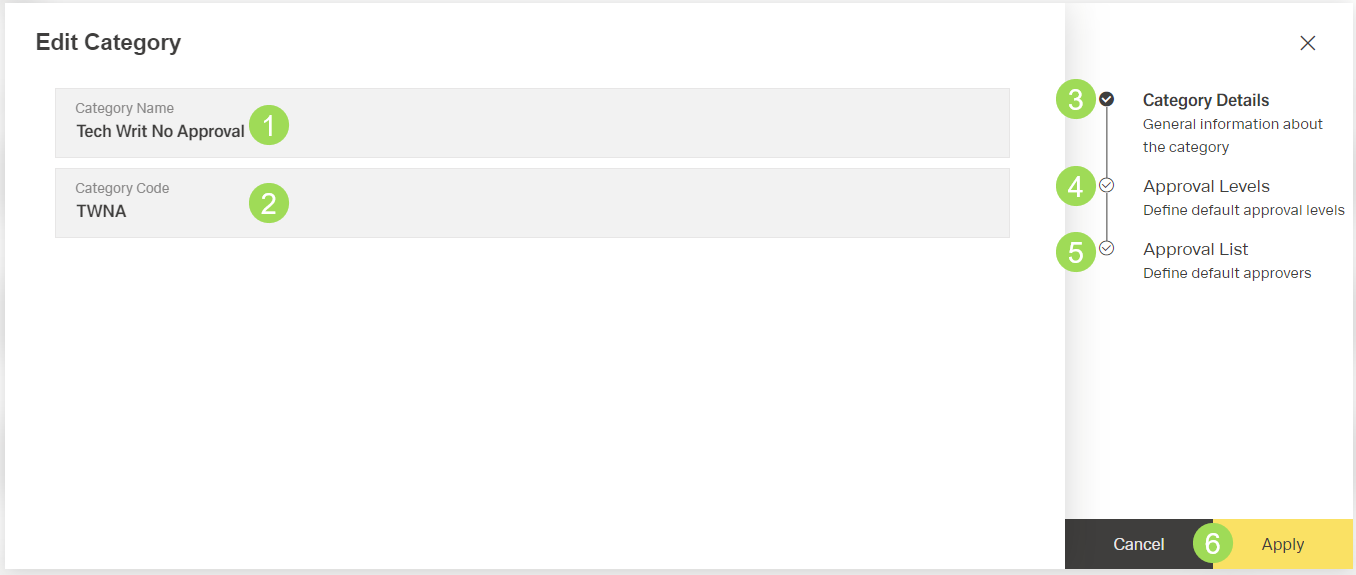
(1) edit field "Category Name", (2) edit field "Category Code", (3) currently active submenu "Category Details", (4) submenu "Approval Levels", (5) submenu "Approval List", (6) buttons
The edit fields with the category details can be changed if needed. After editing them, click the button Apply to save the changes.
It is possible to independently edit the approval levels and the list of approvers.
Edit the approval levels
Click on "Approval Levels" <4> or the button Apply <7> to edit the approval levels
The following window appears:
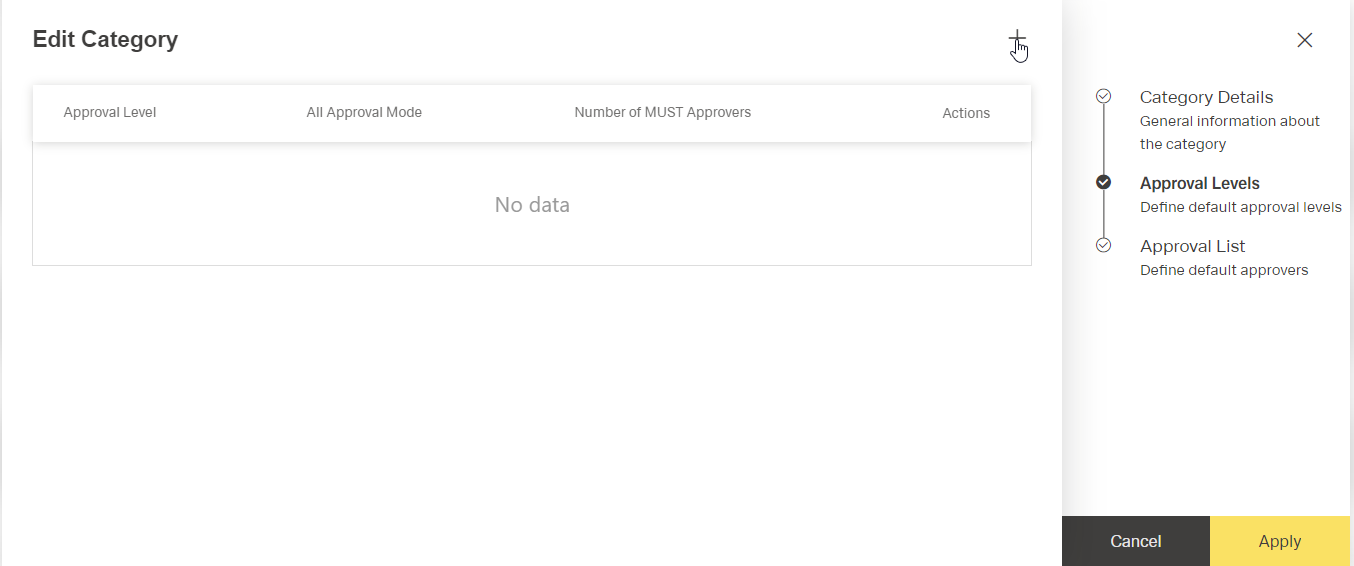
Click the button [![]() ] to add a level
] to add a level
The following window appears:
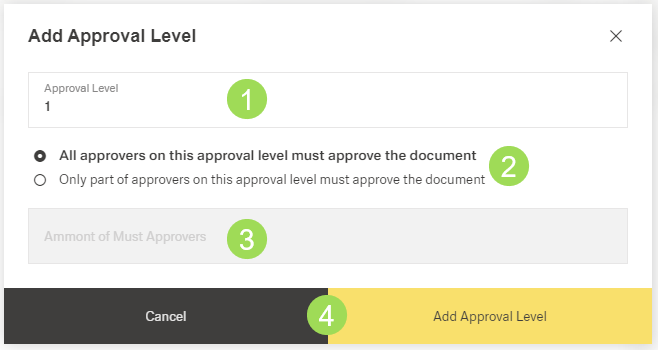
(1) information on current approval level (automatically set), (2) select number of approvers, (3) edit field for "only part of approvers...", (4) buttons
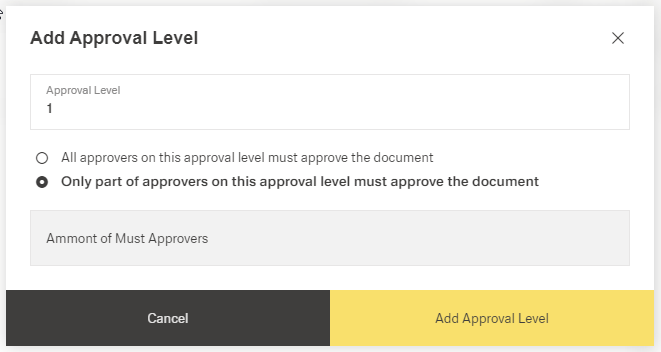
Select approval mode <2>
In case of the selection "Only part of approvers on this approval level...", a number must be entered in the edit field <3>.
Click the button Add Approval Level
If you need more than one approval level, repeat steps 2 and 3 accordingly.
The following window appears:
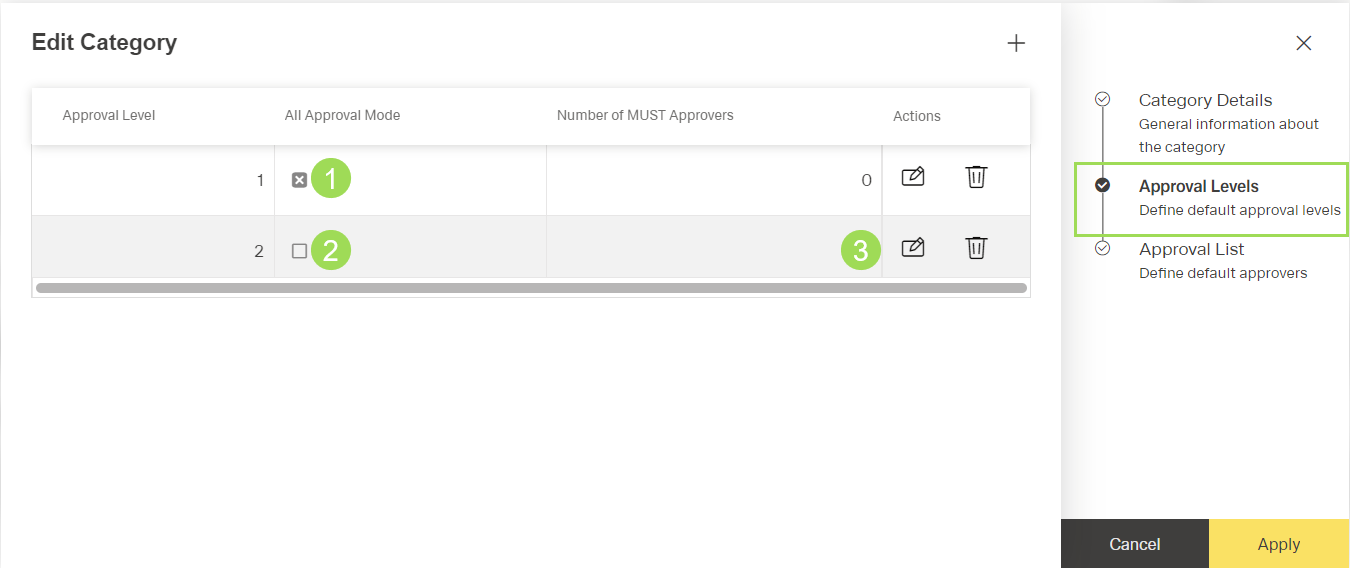
(1) level with activated selection "all approvers...", (2) level with activated selection "only part of approvers...", (3) amount of approvers who must approve (only valid for selection with "only part of approvers...")
If you need to correct the approval mode or the amount of MUST users, click the button [![]() ]
]
If you have added too many levels, click the button [![]() ] of the level that you don't need anymore.
] of the level that you don't need anymore.
Click the button Apply (or Cancel)
A message about the successful action appears at the top of the screen.
The dialog changes to the submenu <5> "approval list"
Continue or click the button Cancel
After canceling, the window returns to the category table.
Edit the list of approvers
Click on "Approval List" <5> to edit the list of approvers
The following window appears:

Click the button [![]() ] to add an approver
] to add an approver
The following window appears:
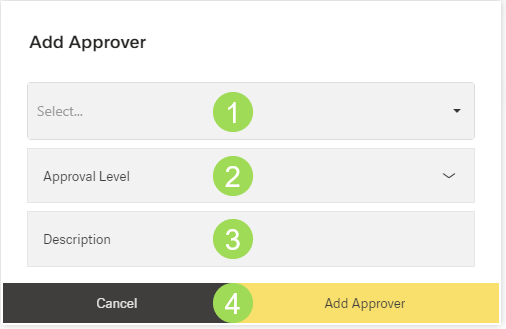
(1) dropdown list with possible approvers, (2) dropdown list with available approval levels, (3) optional edit field, (4) buttons
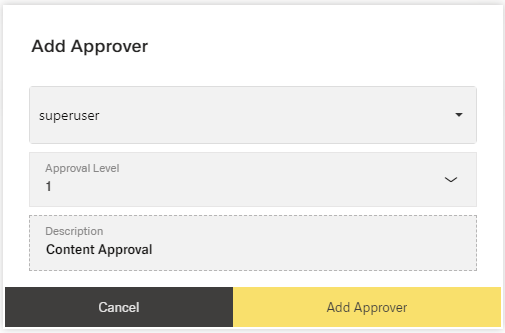
Select approver from list <1>:

It is possible to search users by typing letters of their user name.
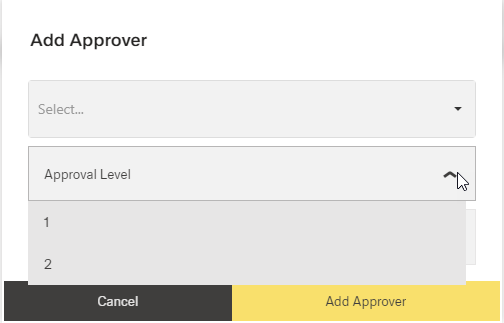
Select approval level from list <2>:
Enter a description for the approver if needed in the edit field <3> (e.g. information for the approver)
Click the button Add Approval Level
Repeat adding one or more approver(s) for each level.
Please note: a user can only be assigned to one level. It is not possible to assign the same user more than once.
The following window appears:
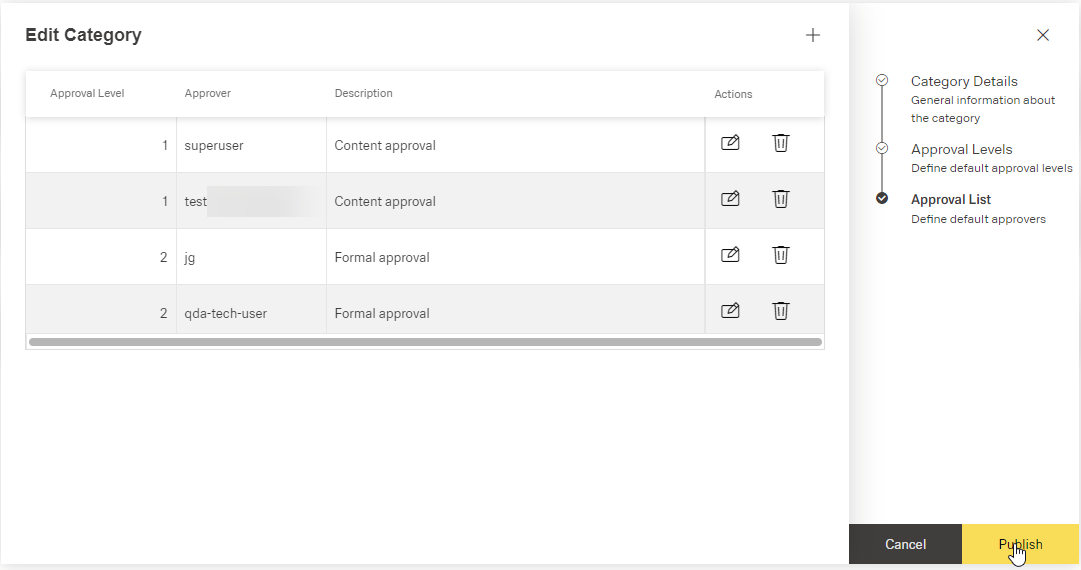
The illustration shows the selected approvers with their assigned levels. The column "Description" contains information for the approver.
If you need to correct the description, click the button [![]() ].
].
If you need to change the approver or the assigned level, click the button [![]() ] of the row to delete the row and add a new approver to the list.
] of the row to delete the row and add a new approver to the list.
Click Publish (or Cancel)
A message about the successful action appears at the top of the screen.
The window returns to the category table.
Please note: approvers entered here are copied to the document. If another approver is added at a later time, the new approver is not visible in the corresponding submenu of the document. The new approver does NOT approve documents that already use the category. The new user ony applies to newly assigned documents.