Add documents to DMS (step by step)
Before adding a document to the document management system, please make sure that you already have a folder (add a folder) and a category (add a category).
It is possible to add
Add a document
Select the folder for the new document(s) to be uploaded in the left band menu
Click the button +Add Files
a file manager opens
Select document(s) to be uploaded
The following window appears:
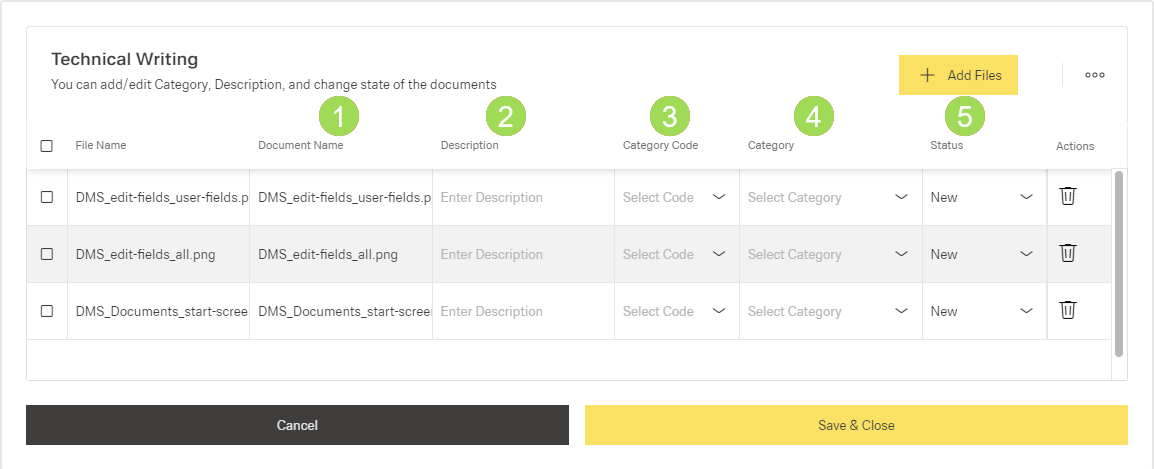
Manage document(s) by
edit "Document Name" <1>
enter "Description" <2>
select "Category Code" * (<4>; "Category" <4> is automatically filled, both fields are connected with each other; "Category" configuration can be done here)
select "Status" * <5>
Required fields are
description
category / category code
Click the button Save & Close
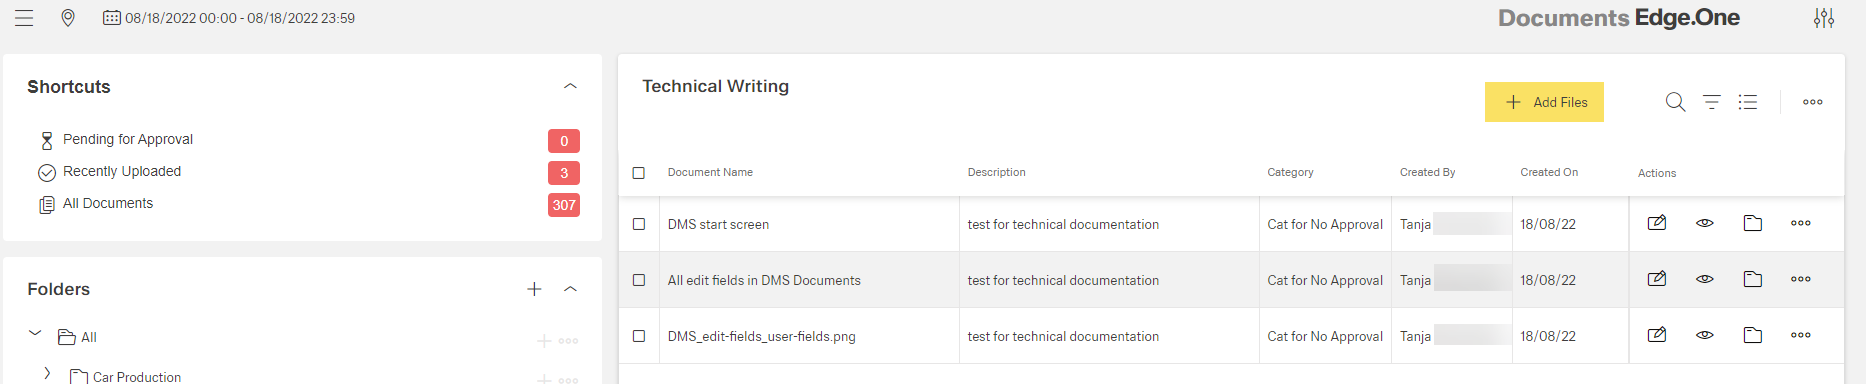
A message about the successful action appears at the top of the screen.
Result of the finished upload:
* When more than one document is uploaded, it is possible to select the category/status individually for each document or for some or all of them together. The checkboxes are used to select the documents to be processed in one single step.
Managing more than one document at the same time
Select the documents to be managed using the checkboxes on the left
A new toolbar appears in the header:
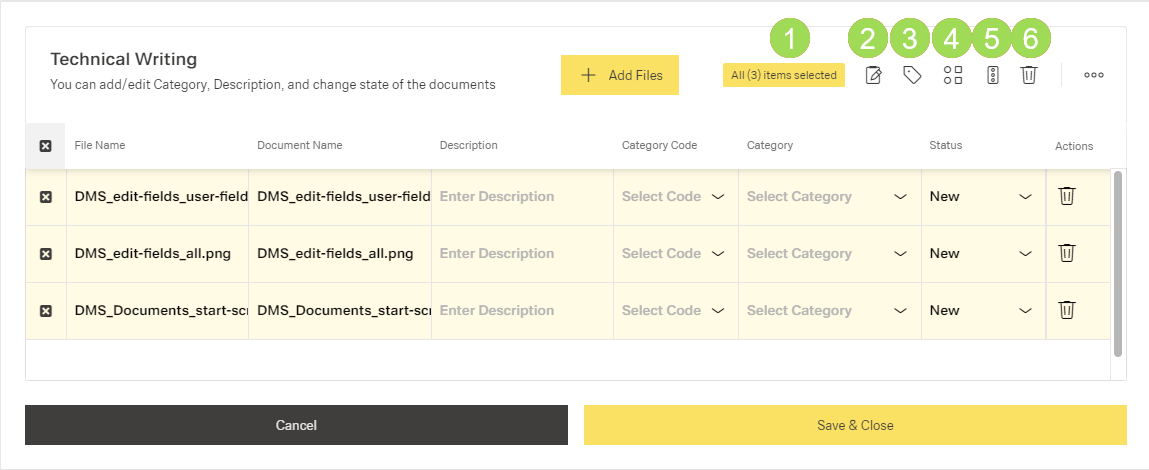
(1) information, (2) edit "Description", (3) select "Category Code", (4) select "Category", (5) manage "Status", (6) delete row
Save: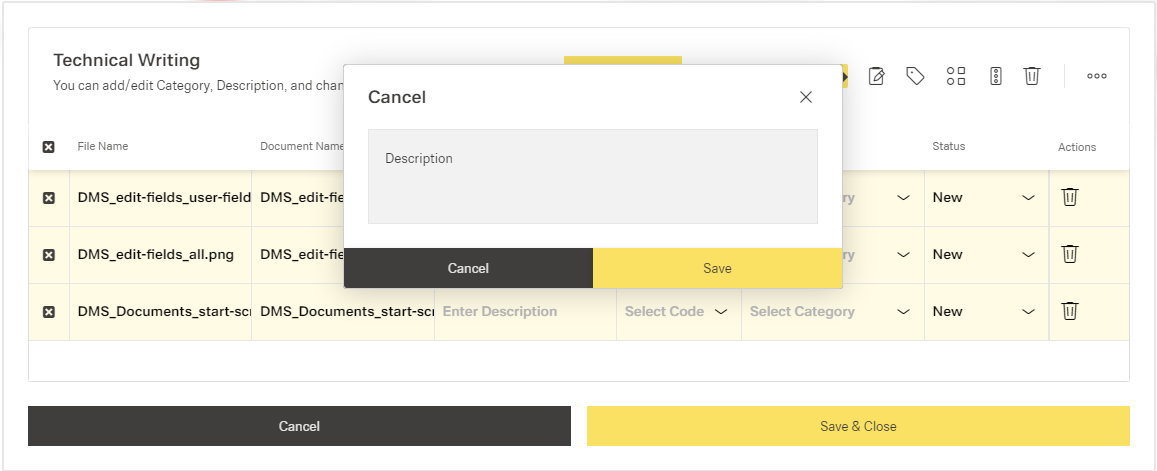
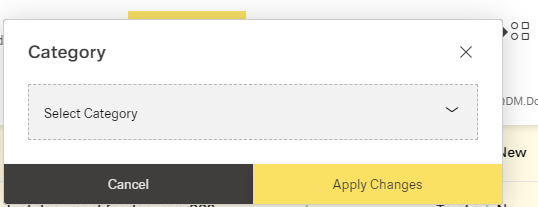
Select "Category Code"* <3> from dropdown list ( "Category" <4> is automatically filled, both fields are connected with each other; "Category" configuration can be done here) and click the button Apply Changes]:
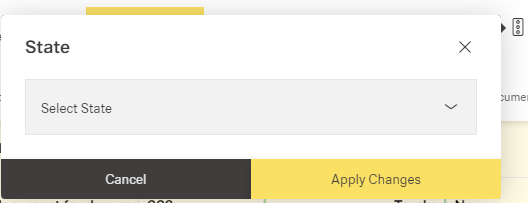
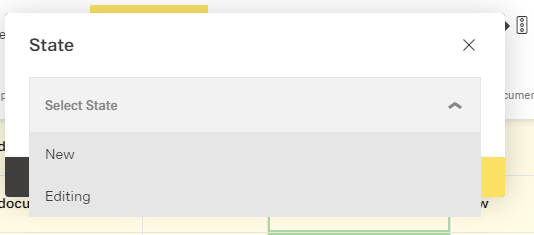
Manage "Status"* from dropdown list <5> and click the button Apply Changes:
Click the button Save & Close
A message about the successful action appears at the top of the screen.
* When more than one document is uploaded, it is possible to select the category/status individually for each document or for some or all of them together. The checkboxes are used to select the documents to be processed in one single step.