Custom settings for document approval and release (step by step)
Every document gets assigned to a category when uploaded. These custom settings for approval and release offer the ability to define default settings for individual document categories. If a category is not added to a custom setting, the global settings are valid for the documents included in this category.
Attention: each category can added only once to a custom setting to avoid contradictionary settings.
Recommendation: for different regular processes and the corresponding typical documents, custom settings are very useful.
Custom settings can be
Add a custom setting
Click the button ![]()
Custom Settings
The following window appears:
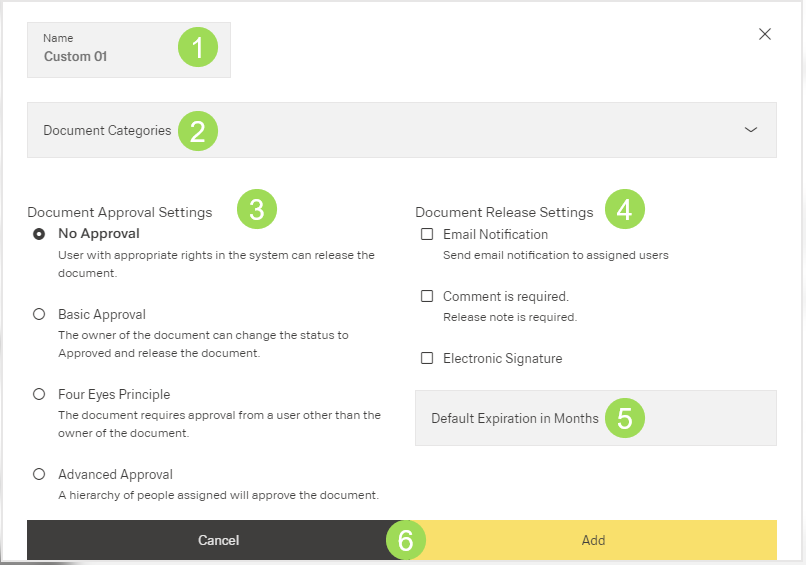
The illustration shows the elements of the custom settings: (1) name, (2) category selection list, (3) approval settings, (4) release settings, (5) expiration period, (6) buttons
Enter the name of the custom setting
Select the one or more document categories to be handled according to this setting.
The category can searched or found by using the scroll bar.
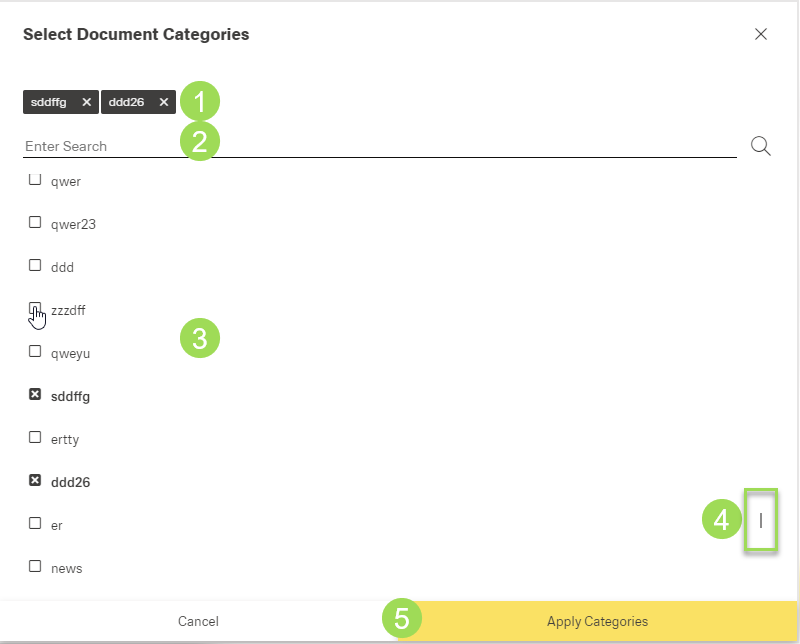
The illustration shows the elements of the category selection: (1) selected categories, (2) search field, (3) list of categories to be selected, (4) scroll bar, (5) buttons
Select the approval setting
Information on approval settings is given here (at the end of the page).
Select the release settings
"Email Notification"
When the notification is activated, all users assigned to this document get an e-mail informing about the release respectively that the document is now available."Comment Required"
Information on comment is given here.
The release note is shown in "View Release History" of the selected document and in the menu "DMS end user portal"."Electronic Signature"
Activating this signature affects the release process. Information is given here.
Enter the expiration period
Information on expiration period is given here.
Click the button Add Custom Settings (or Cancel)
A message about the successful action appears at the top of the screen.
The window returns to the approval and release settings.
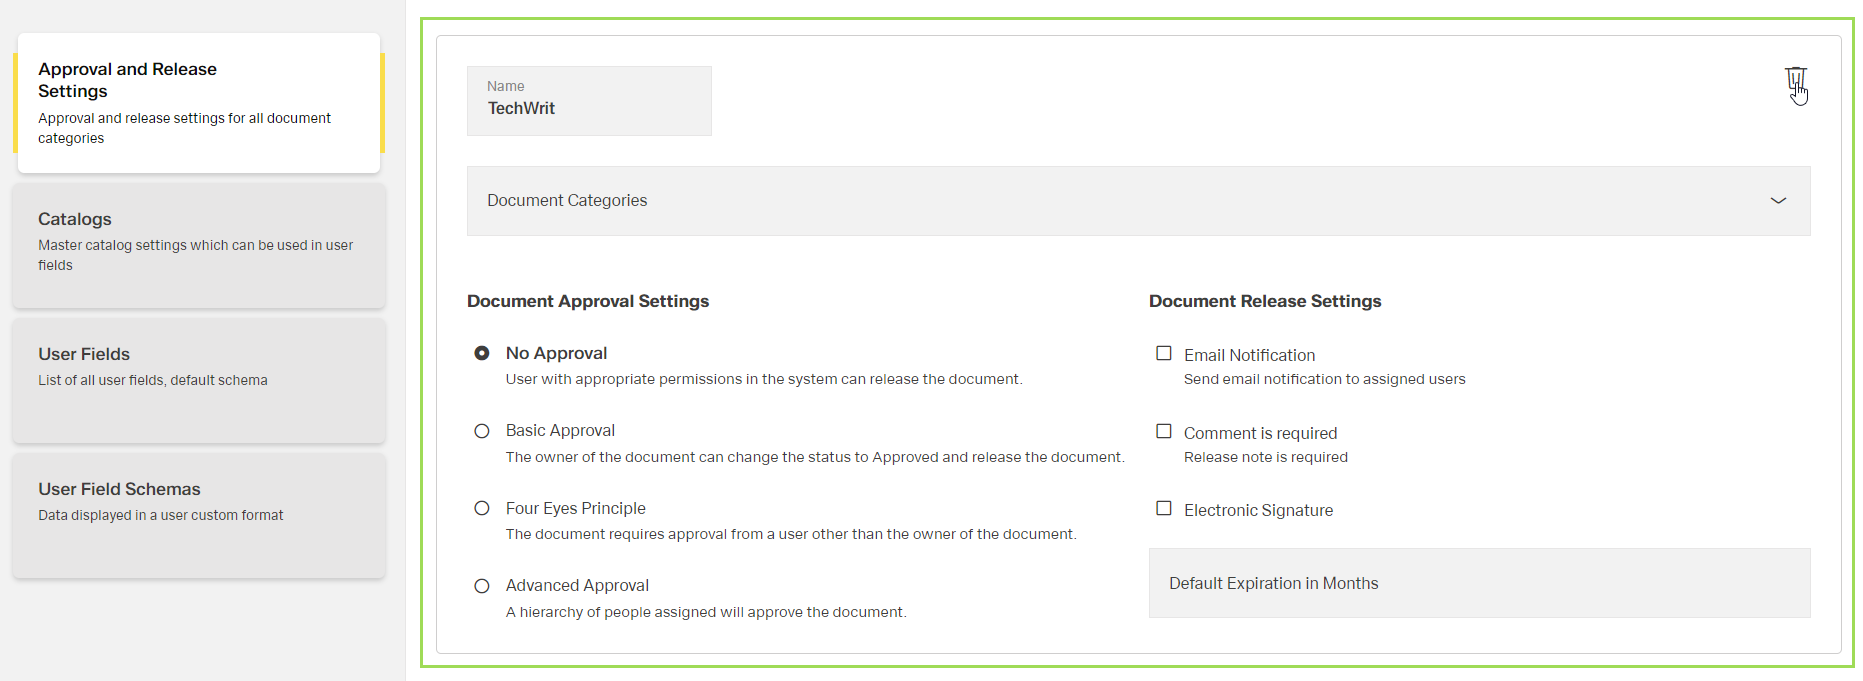
Delete a custom setting
Go to the setting you want to delete, e.g.:
Click the button [![]() ]
]
The following window appears:
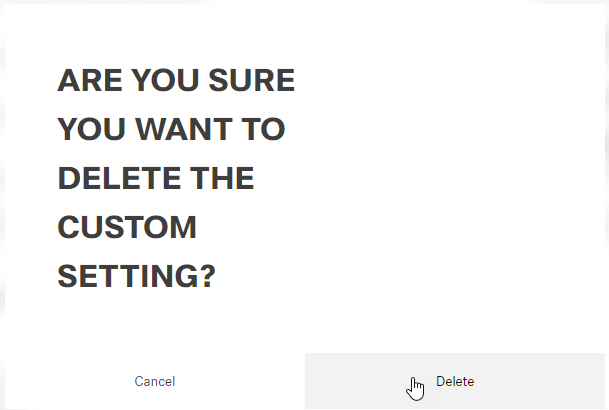
Click the button Delete (or Cancel)
A message about the successful action appears at the top of the screen.
The window returns to the approval and release settings.